FreeNAS via WiFi bridge
Installing FreeNAS on to the newly build hardware wasn’t an issue, but I quickly discovered that I had no way of hooking it up to my network. The room I had been keeping all my hardware in was converted into a nursery, and the room my hardware is currently in isn’t adjacent to the router.
- There’s was no reasonable location for the NAS next to the network gear.
- I can’t relocate the network gear as it’s currently at the only DSL drop in the apartment.
- I’m not willing to string the whole apartment together with ethernet.
Which basically means I have to do this via wifi. I understand the bottleneck wifi places on a NAS, but it’ll do for now. Unfortunately, FreeNAS doesn’t support wifi dongles out of the box and I’d rather not go mucking with its kernel when I really want my NAS to be stable.
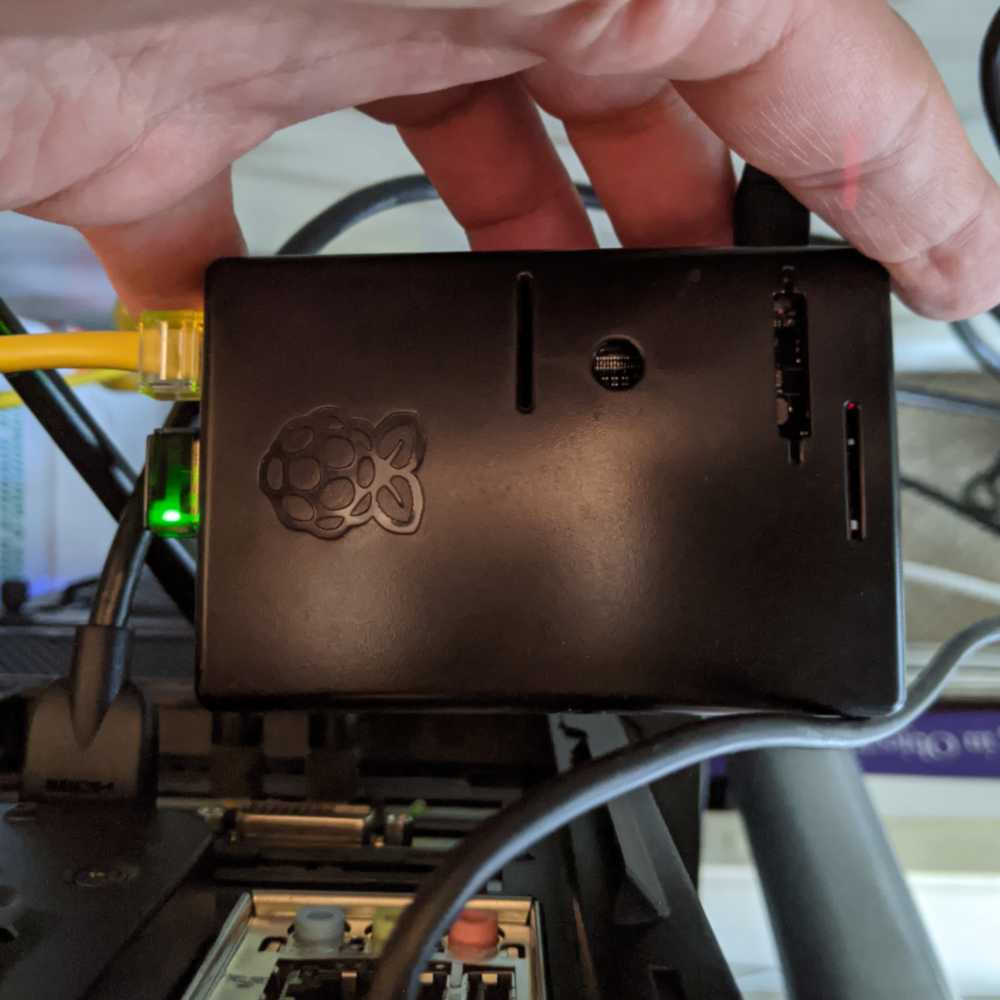
So the solution is to bridge the NAS into my network somehow. Fortunately, I have a spare Raspberry Pi in a drawer and a spare USB wifi dongle.
Wifi Bridge
This is where I start to run into gaps in my skill set. I’ve never actually had to set up a wifi bridge before. I spend some time mucking around in various config files, googling iptables rules, locating documentation of the exact opposite of what I’m trying to do and finding forum posts chastising others for even thinking of running a NAS over wifi. Yeah. I get it.
Fortunately, I finally run across Raspian Recipes where Arpit Agarwal has brilliantly automated the process of activating a wifi to ethernet bridge. A few moments later and I’m up and running.
The one hiccup I notice is that Ubiquiti’s network mapping isn’t aware of the FreeNAS host. The IP is still accessible through all my devices so I’m not overly concerned, especially considering this is a temporary stop-gap until we finally get a bigger place.